Tutorial
How to Make a Cardstock Shadow Box – Easiest Step-by-Step Guide
Are you looking to create a stunning shadow box using cardstock to add an artistic touch to your living space? In How to Make a Cardstock Shadow Box – Easiest Step-by-Step Guide, we will guide you through the detailed steps to create a beautiful shadow box using only cardstock. Keep reading to discover how to do it.
What You’ll Need:
- Cardstock: Opt for ‘Sizzix’ textured solid core cardstock (80lb/216gsm) or any preferred brand.
- Frame: Choose an 8 x 8 inch shadow box frame, allowing ample space for a 3D design and a delightful effect.
- Cutting Method: You can use a Cricut Maker cutting machine, or alternatives like Silhouette, ScanNCut, or even manually cut using PNG files and a craft knife.
- Foam Core Board: Required for creating spacers between the layers.
- Glass Panel or Mica: To cover the front opening of the shadow box.
- Fairy LED Lights: These lights can add a magical touch to your shadow box. Alternatively, you can use a colorful 5V LED strip.
- Double-Sided Tissue Tape: Essential for securely attaching the layers of cardstock.
- Art Knife: Needed for precision cutting and handling.

Step-by-Step Guide:
Step 1: Download and Extract the File
Begin by downloading and extracting the SVG file for the shadow box design. You can adjust the size according to your preference while maintaining the aspect ratio.
Step 2: Upload the SVG File to Design Space
Upload the extracted SVG file to your preferred design software, such as Design Space. Configure the cutting settings specifically for cardstock.


Step 3: Place Cardstock on Cutting Mat and Cut
Position the cardstock on the cutting mat, ensuring it fits appropriately. Follow the instructions on your cutting machine to initiate the cutting process.

Step 4: Reassemble the Layers and Glue Them Together
- Carefully remove the cut layers from the cutting mat. Reassemble the layers, using foam spacers in between each one. These spacers create depth and achieve the desired 3D effect.

- Cut the foam sheet into small 1cm-wide slats, ensuring you have four spacers for each layer.
- Use glue or double-sided tape to attach the layers of cardstock together, placing a foam spacer between each layer.
- Pay attention to the correct order of the paper layers to optimize the image quality.


Step 5: Install Lighting for the Shadow Box

For an enchanting effect, incorporate Fairy LED Lights or a colorful 5V LED strip. These lights can be easily found on platforms like Amazon. Install the LED lights at the bottom of the shadow box to enhance the 3D effect and create a mesmerizing ambiance.
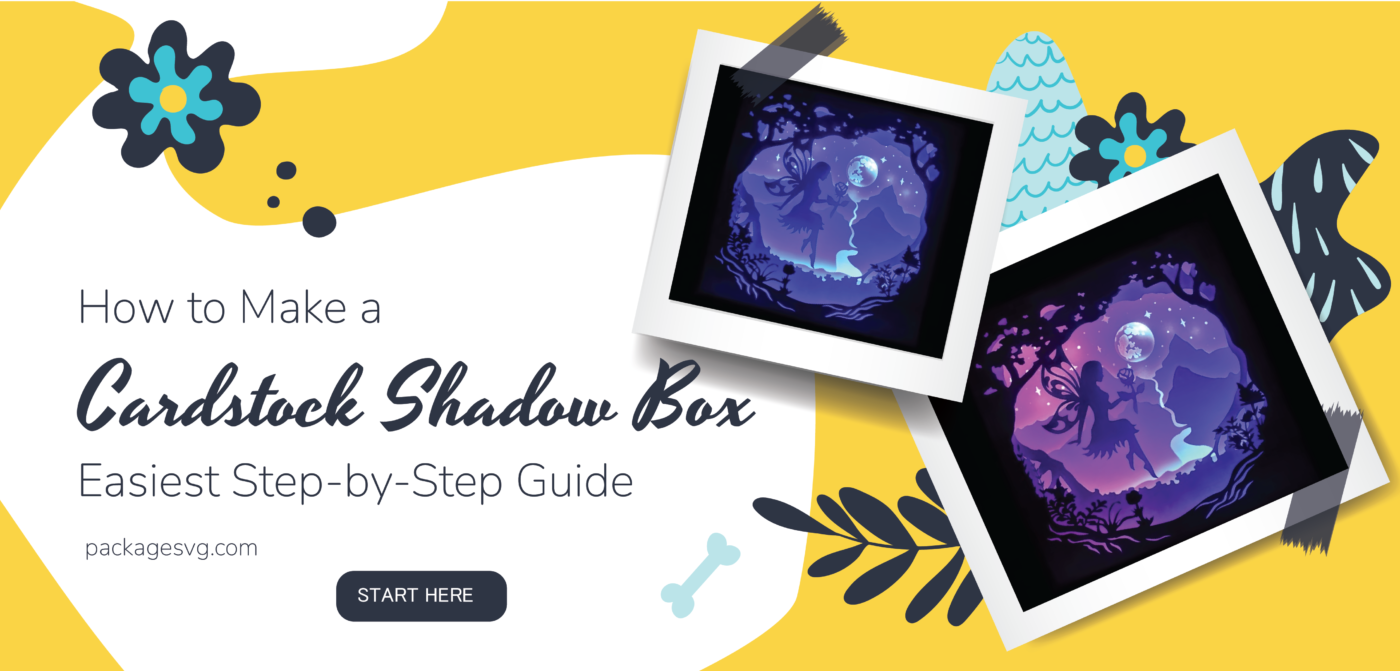
Final Efect – Shadow Box

Once you have completed the above steps, you’ll have a beautiful shadow box made from cardstock. This box will serve as a unique piece of artwork to decorate your living space and create a special focal point.

Conclusion:
By following these step-by-step instructions, you can create a captivating shadow box using cardstock. Allow your creativity to flourish as you craft a unique piece of art for your living space. Embrace the magical allure of the shadow box and enjoy the captivating effect it adds to your home decor.
Remember, the possibilities are endless when it comes to designing your shadow box. Personalize it with your preferred themes, shapes, and colors to make it truly yours. Start your DIY journey today and immerse yourself in the joy of creating a stunning cardstock shadow box.

HOW TO GET DOWNLOAD LINK?